the [DEVLOP] Project for June
 |
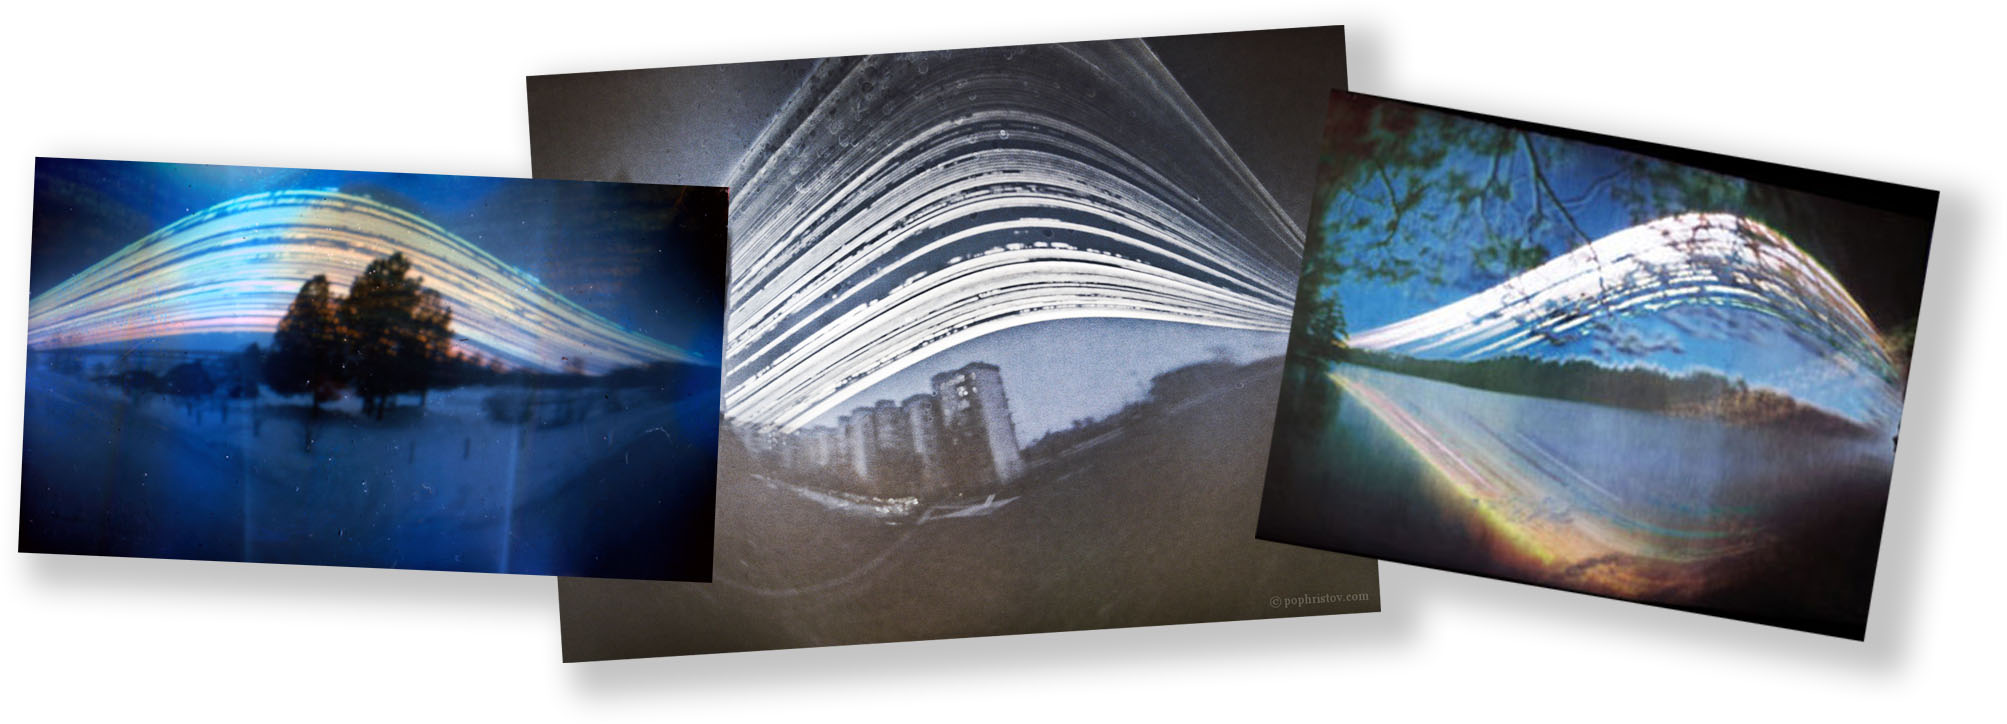
| Solorgraphy examples from Original Hamsters, Boris Pophristov Photography, Atrabiliario. |
For 2013 we're got a challenge to set you each month, something to get your teeth into to help you [DEVELOP] your photography skills. Some of them might be familiar concepts to you others we hope you'll never even have heard of, but by tackling them we hope you'll try out something you wouldn't have done otherwise.
This month's challenge isn't so much using a camera as making one. Solargraphy uses a little DIY pinhole camera to record the line of the sun on a single photograph. June is the perfect time to make a start on this project, because the sun will be at its highest point in the sky on the longest day of the year (21st June), so you'll capture a great shape. You can leave the camera to take its photograph for any length of time between 1 day and 6 months. Half a year sounds like the most exciting option and as a bonus it'll be ready just in time for Christmas!

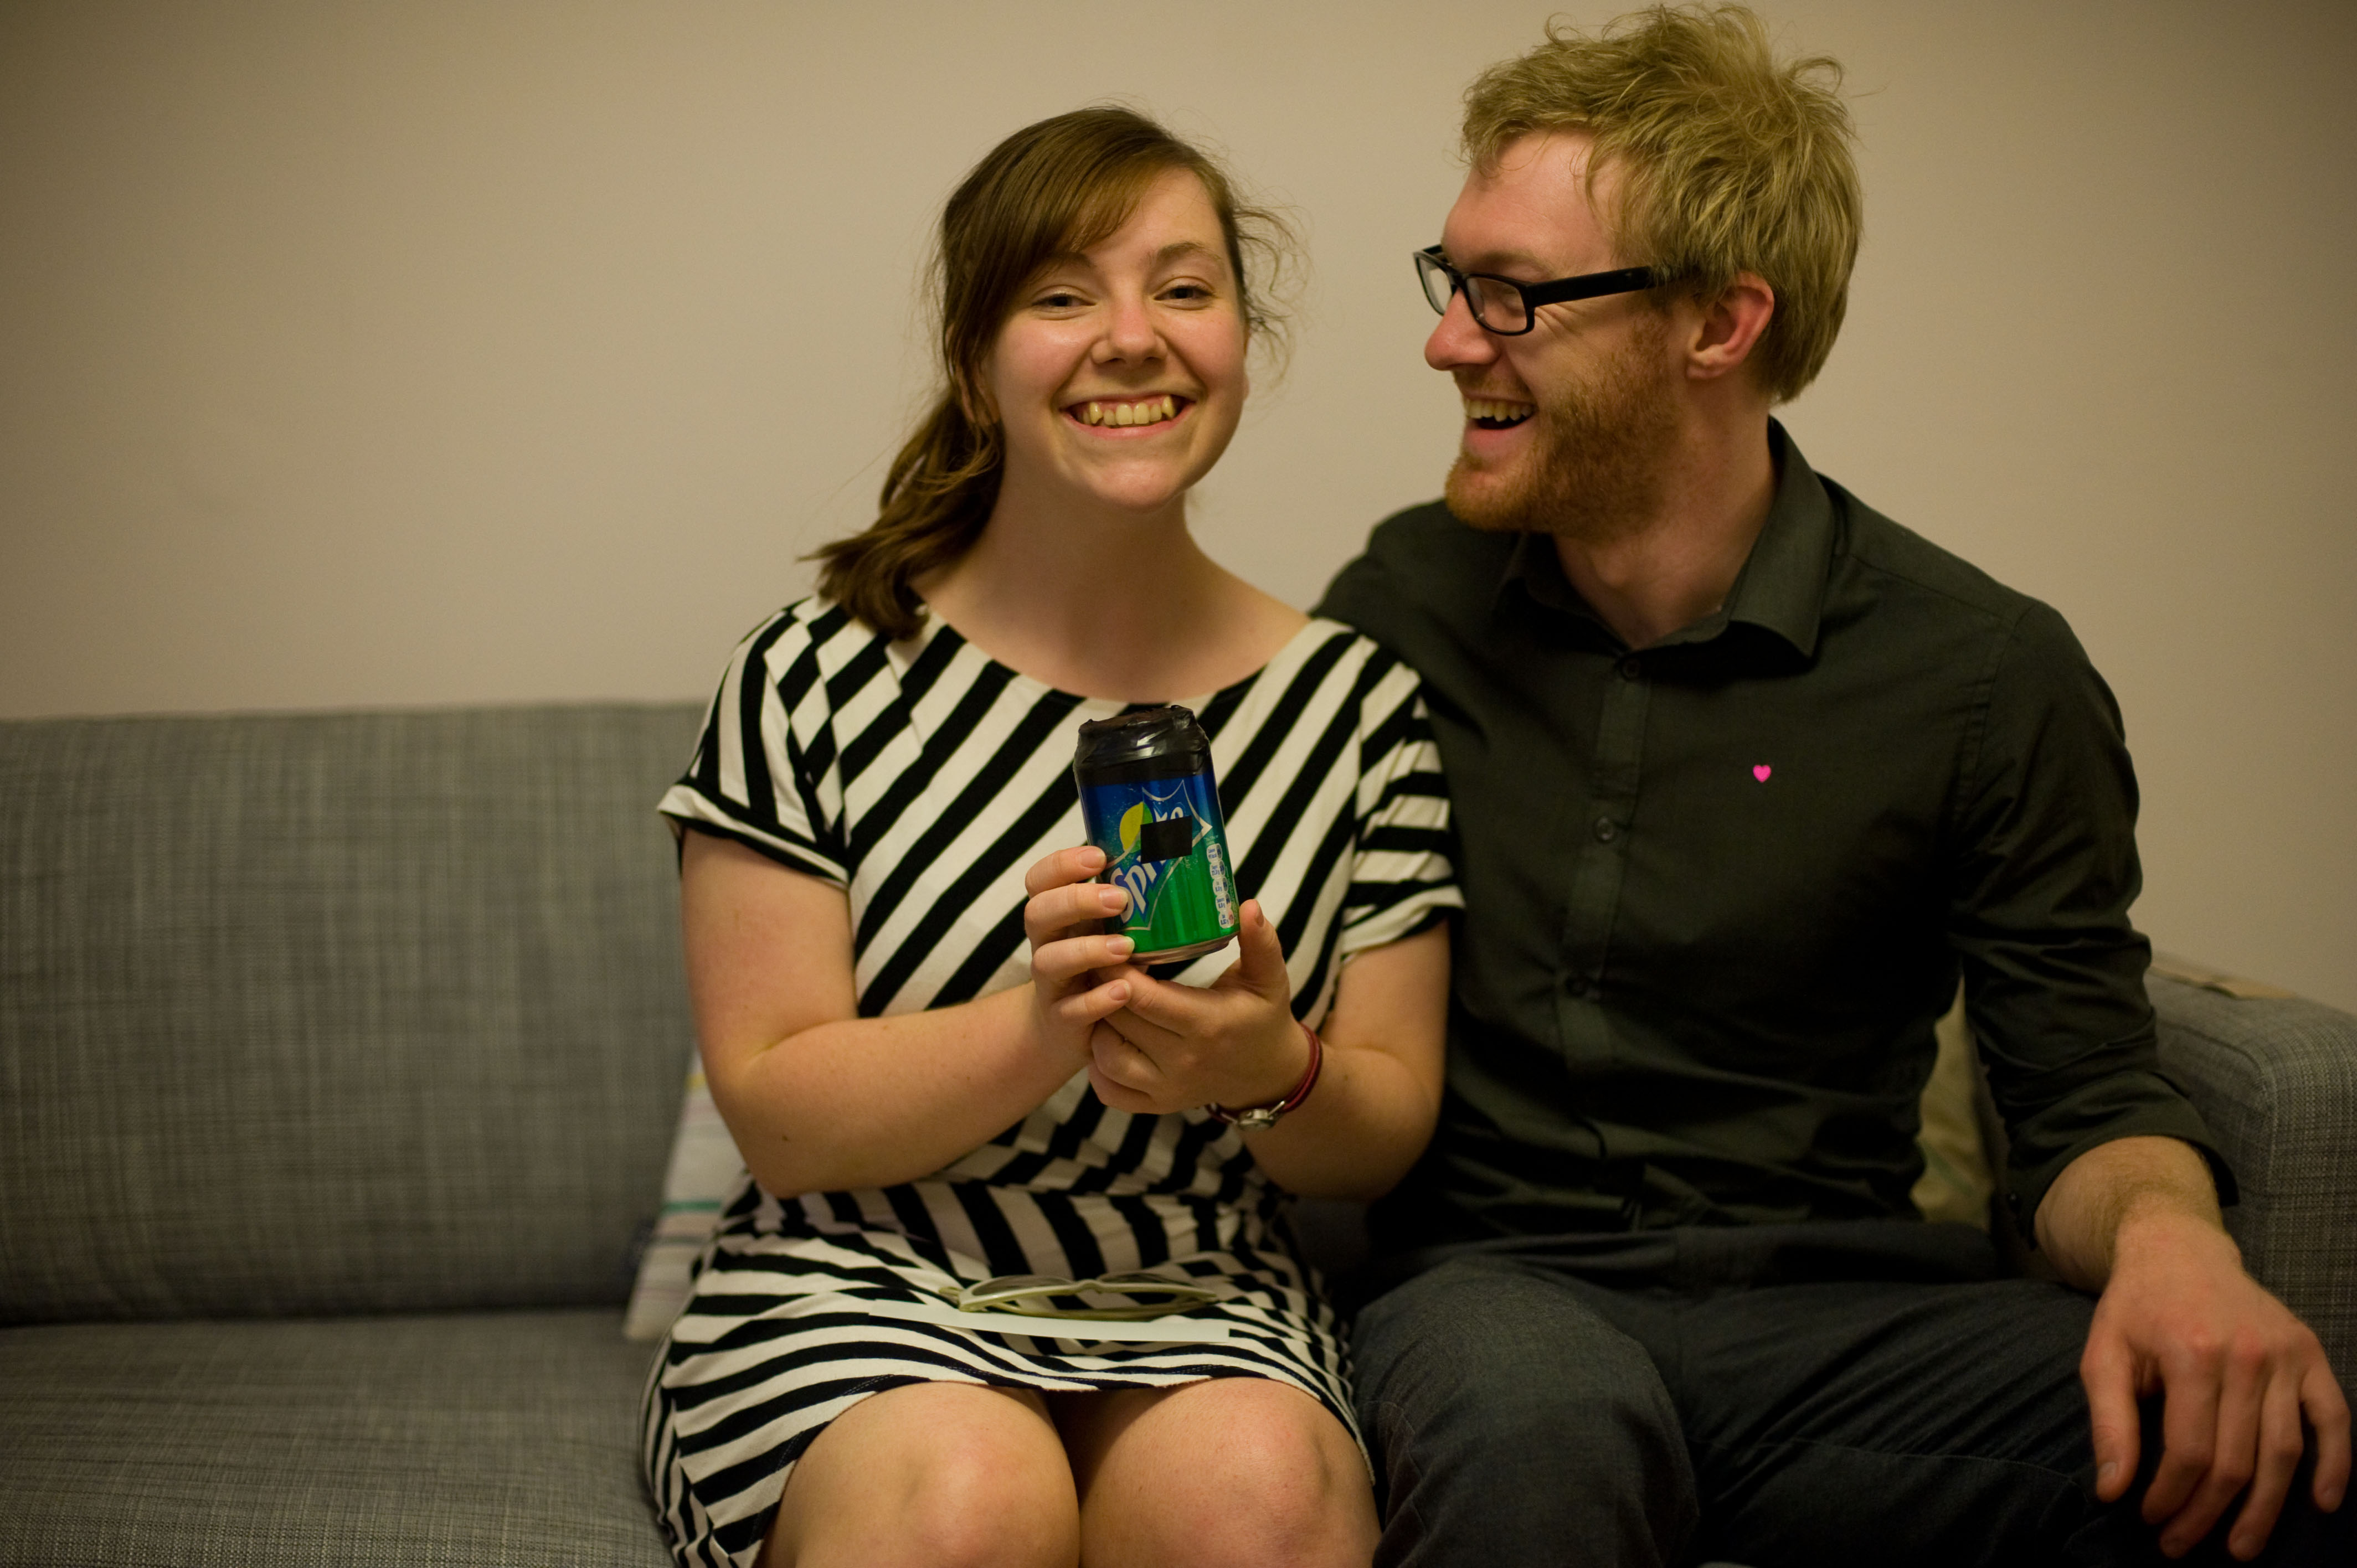
Our friends Charlie-Rose & Joe joined us to give it a go. Charlie's blogged about it over here. She wrote this about her plans for their Sprite can camera:
As we are fast approaching Midsummer, and therefore the longest day, we've decided that this will be the ideal time to fix the camera into position. Joe and I have a sheltered garden/courtyard area so we have decided to fix our camera to the trellis on our porch in a hope to produce a photo with the old brick factories underneath and the line of the sun, traced over the course of the next 6 months, above.
I'll let you know how it goes.
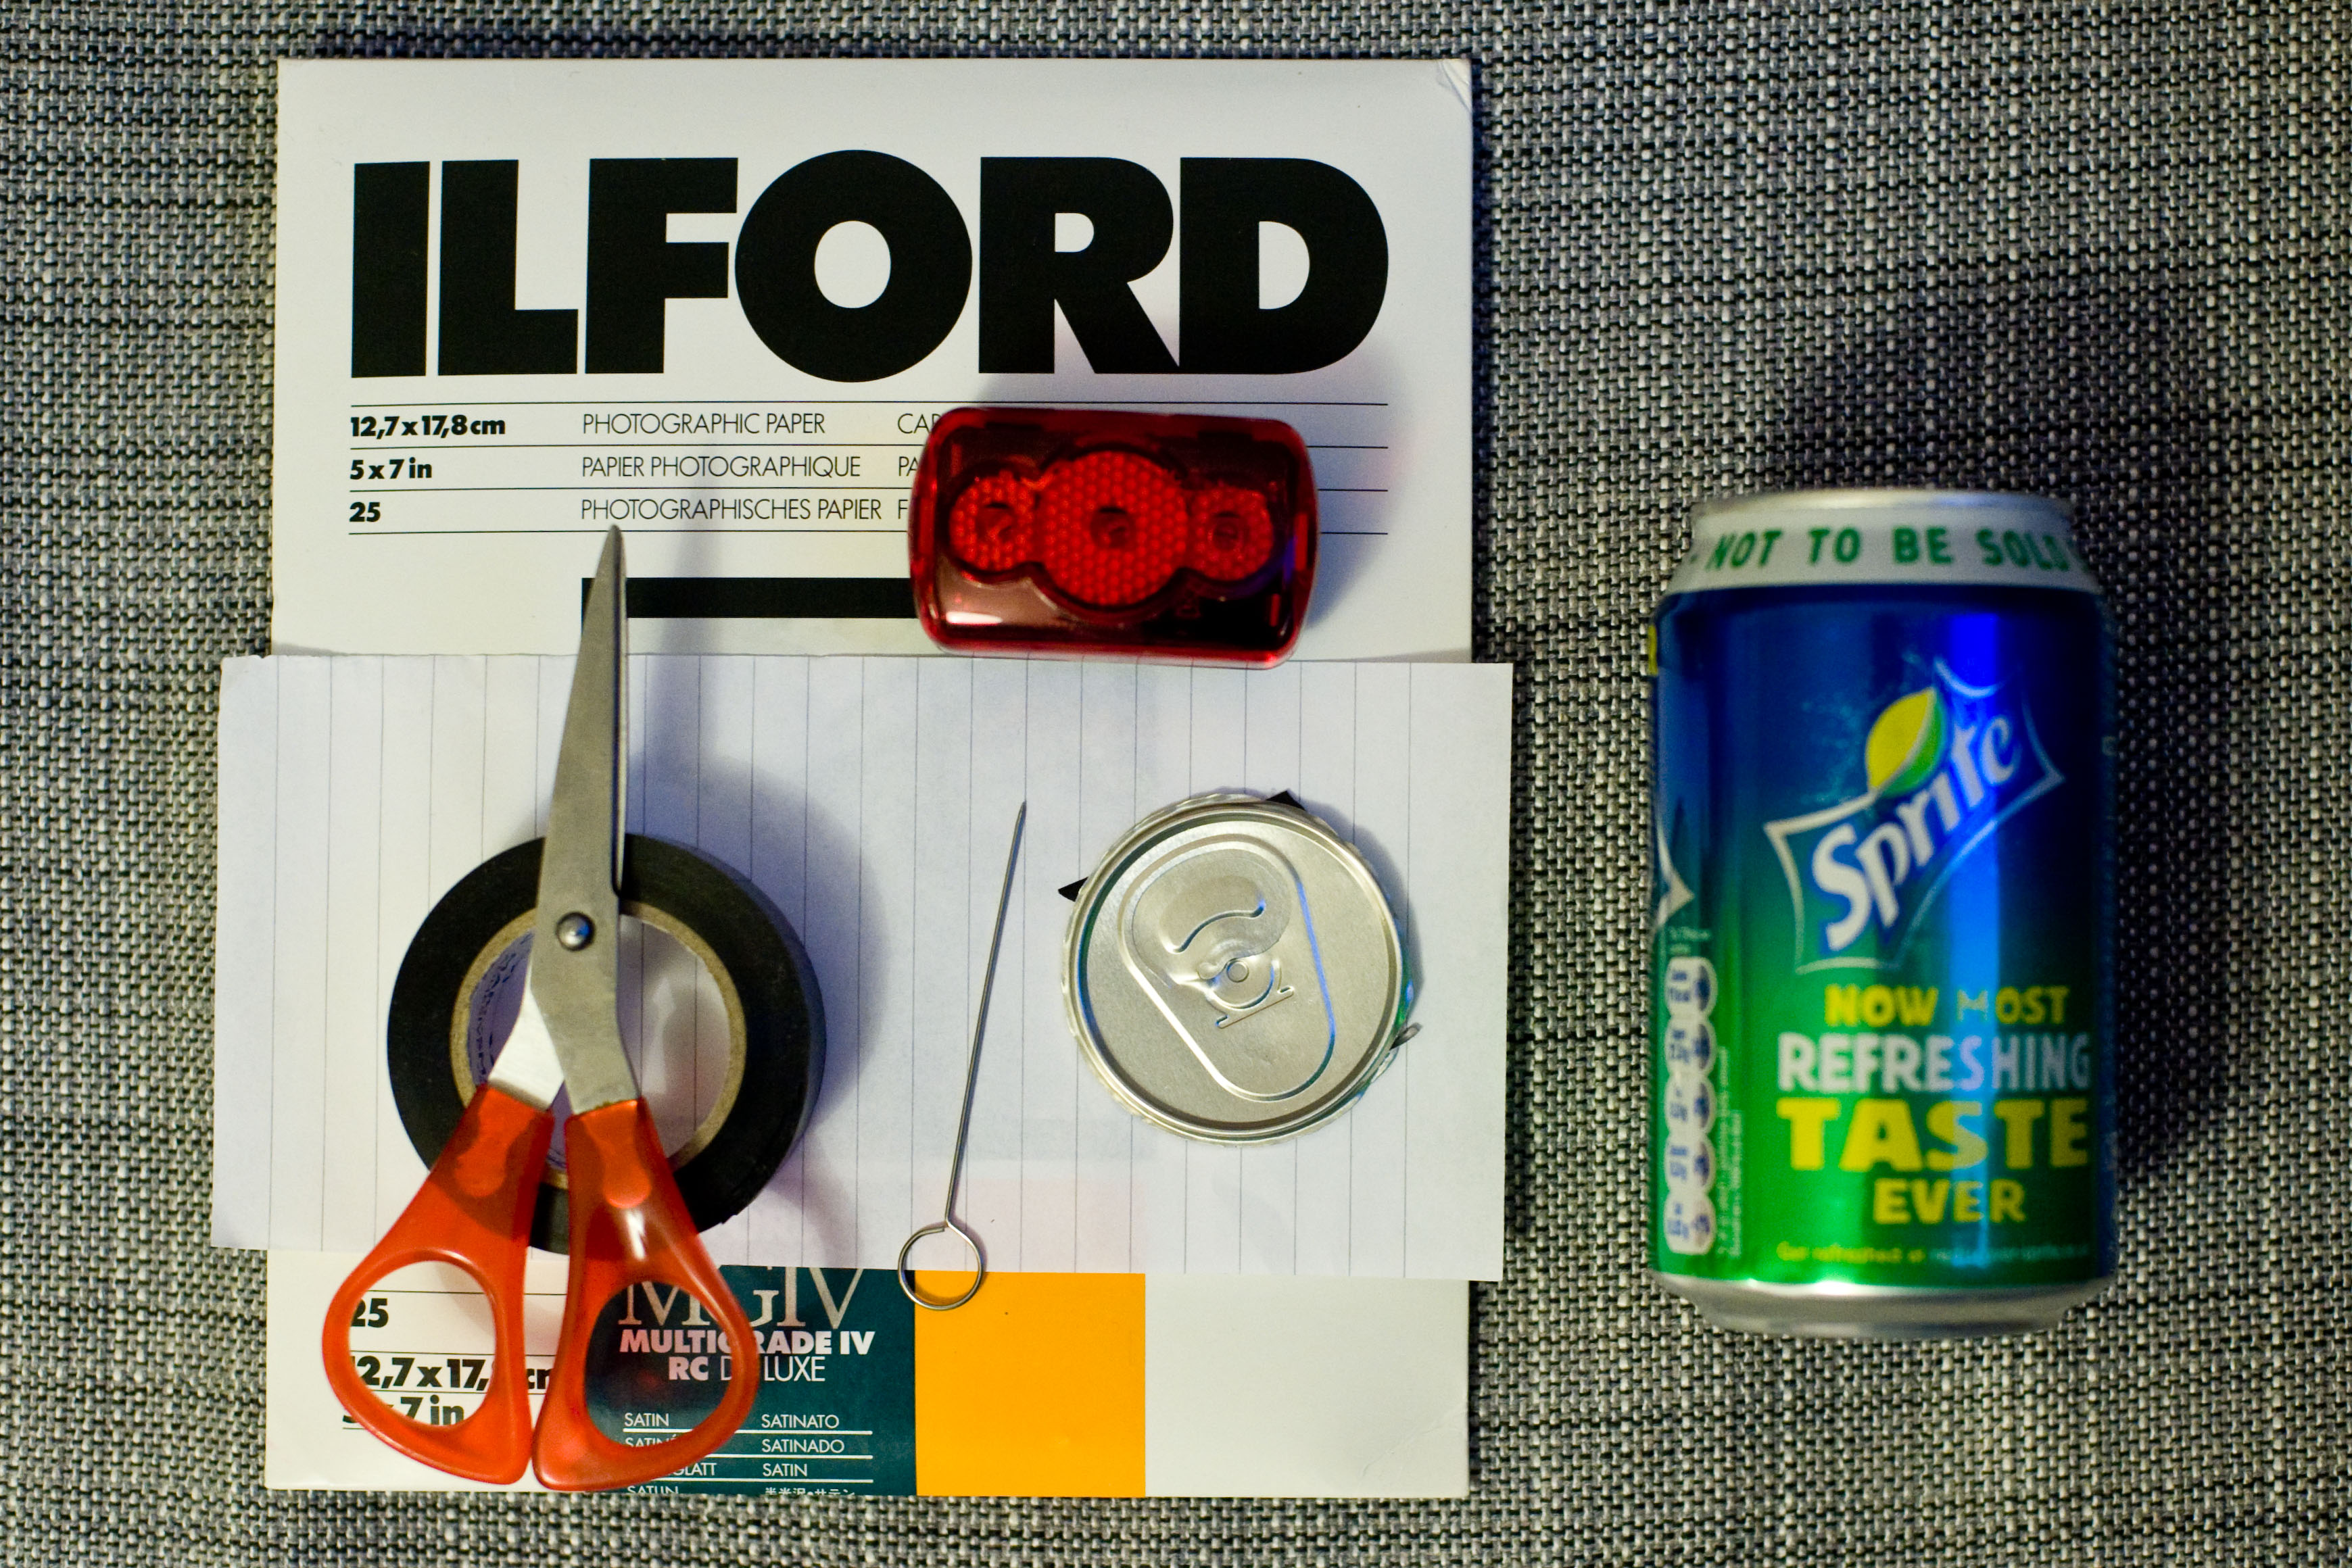
Its really easy, probably the only thing you'd need to buy is photographic paper.
This is the basic idea:
-Find a cylindrical container.
-Pierce a pinhole in one side (if you're using something hard to pierce neatly, cut a larger hole and use tinfoil to seal it, then pierce that)
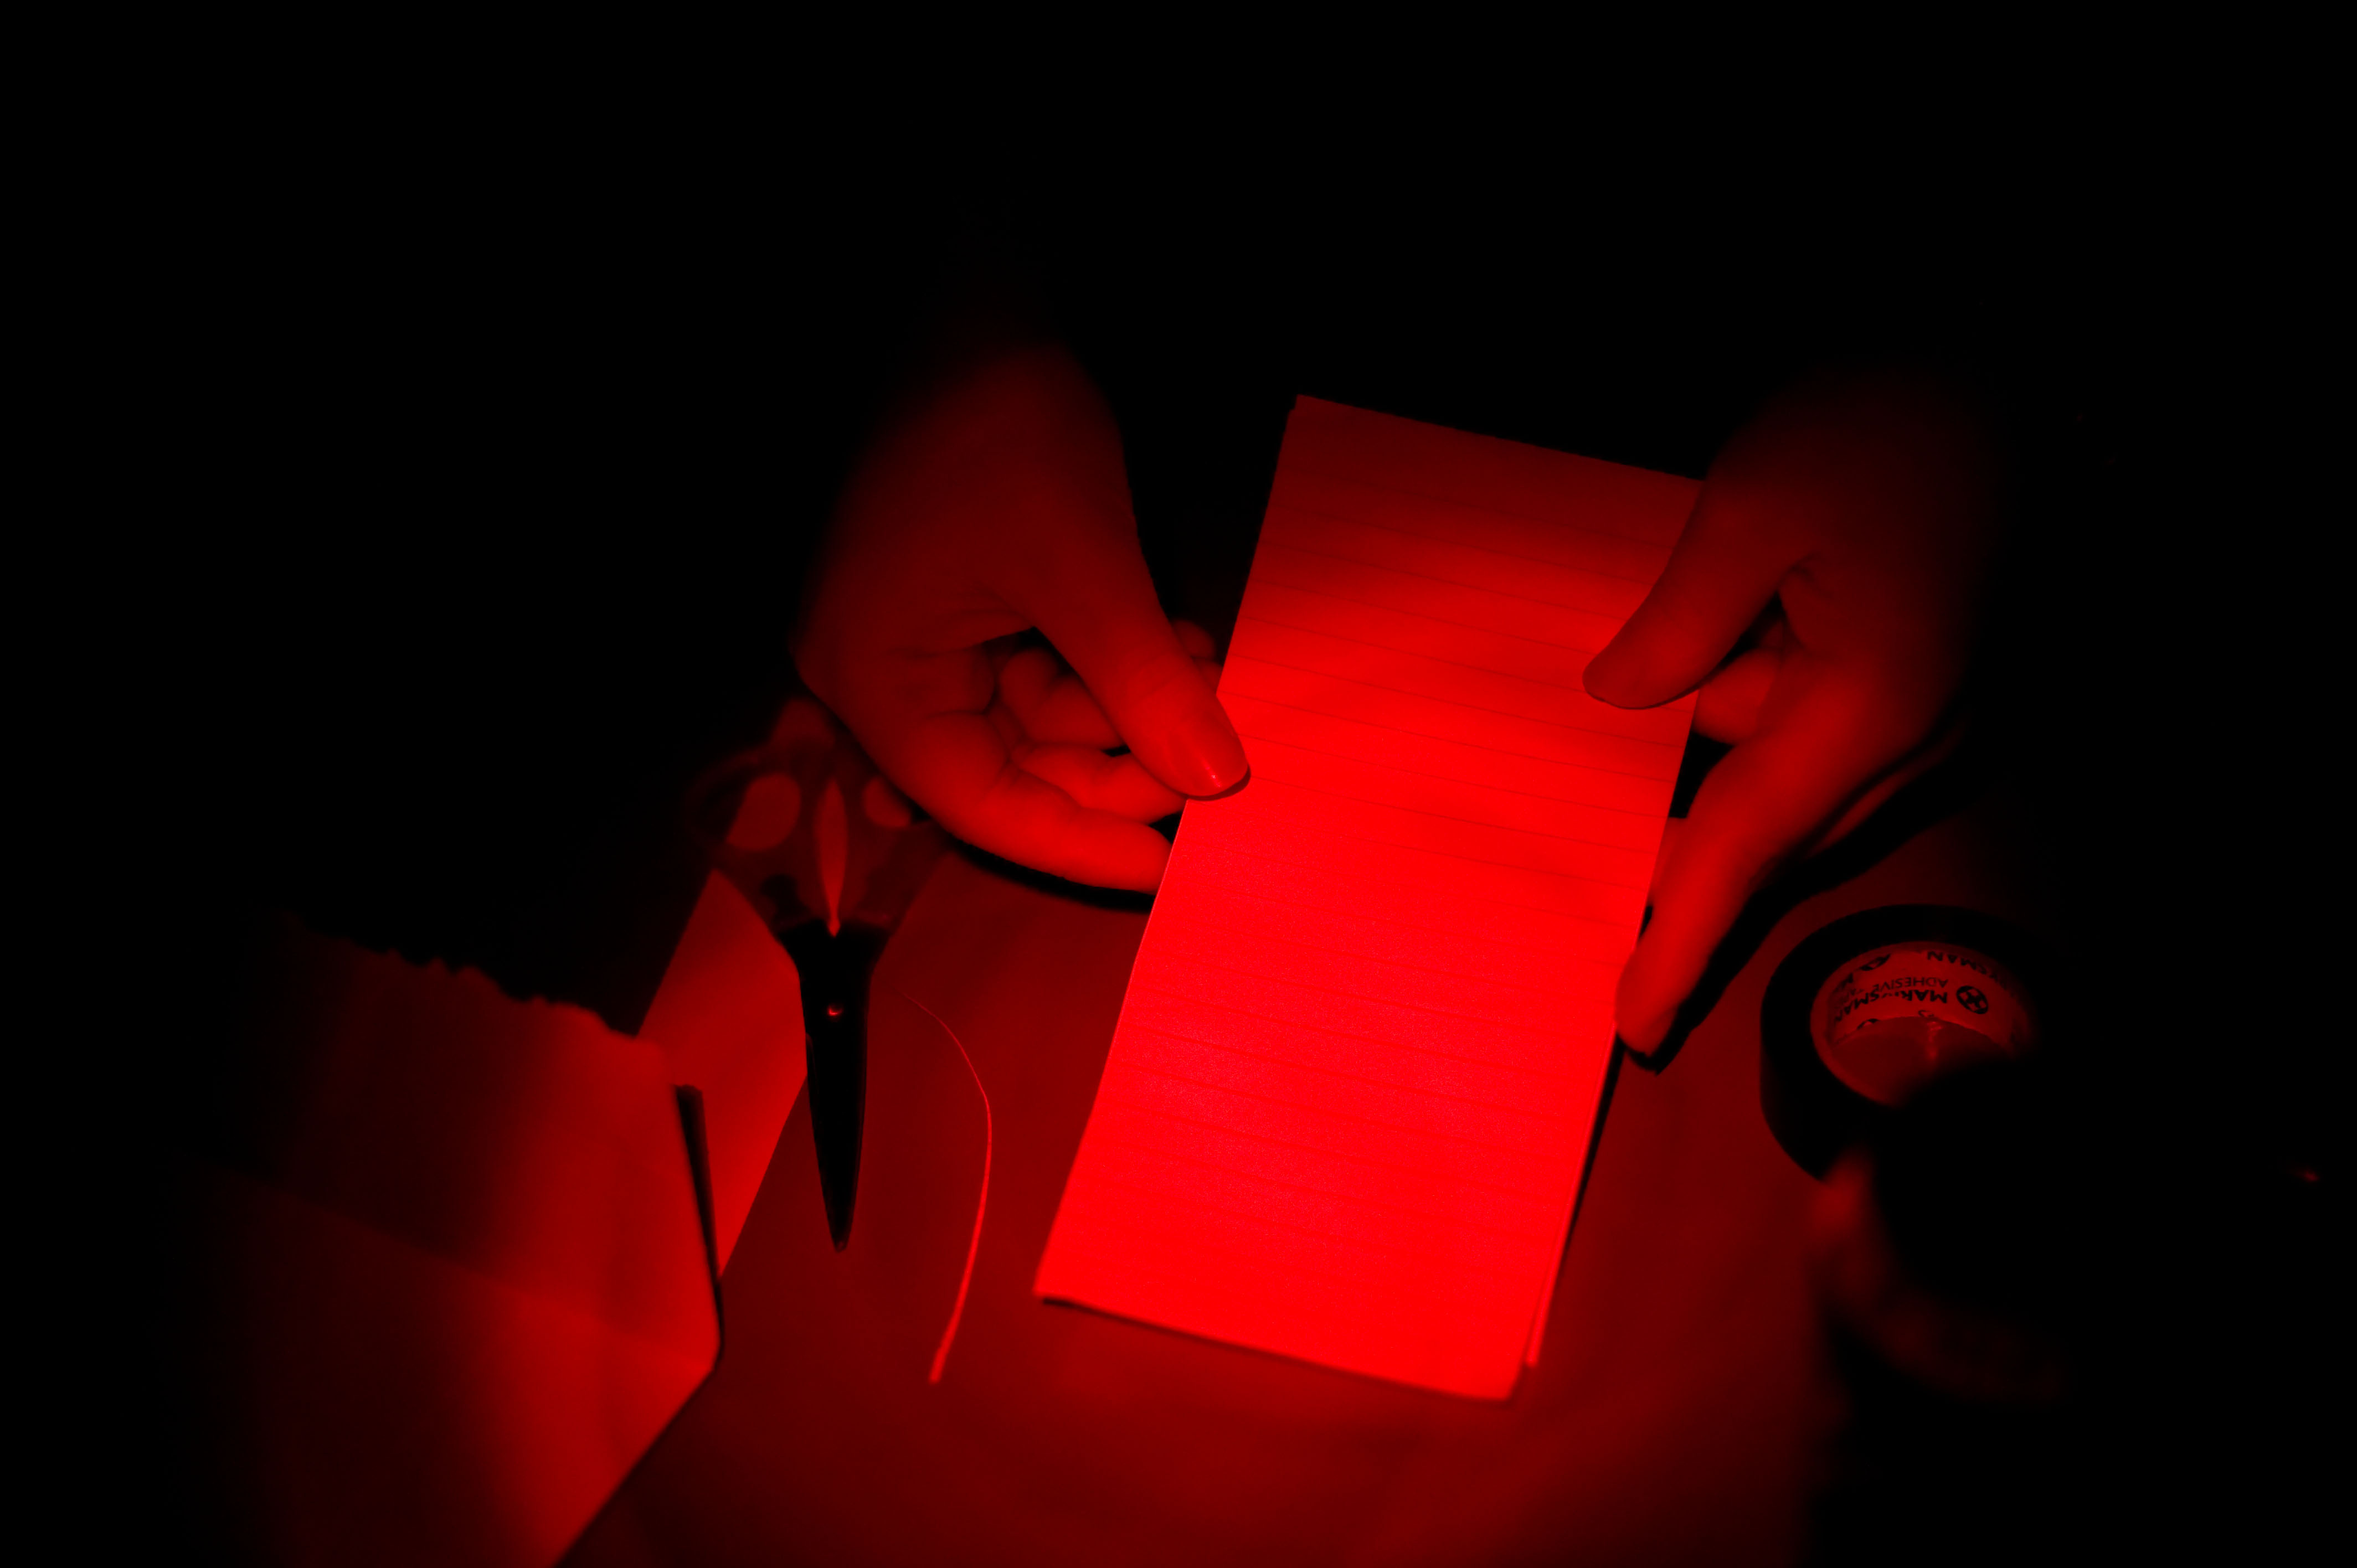
-Go into dimly lit room.
-Open up the cylinder (use a tin opener) and place a piece of photographic paper inside with the working side facing the centre of the container. You can cut a template to ensure you get the paper the right size.
-Tape the cylinder back together so that no light can get inside. Make sure you put a small piece of tape over the hole until the camera is secured in place.
-Attach the camera firmly to a stable surface outside pointing south (angle it up if needs be to see the full height of the sun).
-Remove the tape covering the pin hole.
-WAIT
-Reseal the hole and bring inside
-The final step is to scan the paper. No chemicals are needed! In a dim room quickly stick it in your scanner and without a preview scan, scan it at 400 -600 dpi. Use some editing software to invert the image and tweak the colours.
You're done! Stick the picture in a blacked out box to keep it from being destroyed by light. Remember to come back and share your pictures with us! Send us your "in progress" pictures too, so we can see where you put your cameras up.
There are loads of examples and guides online. This one is easy to follow. And this video is thorough, but so simple.
Don't forget, to join in with the project follow along in this Facebook group or use #developproject on instagram and twitter.

